![MenuMetric_500_130.png]](https://support.menumetric.com/hs-fs/hubfs/MenuMetric_500_130.png?height=50&name=MenuMetric_500_130.png)
Step 1. New Sale
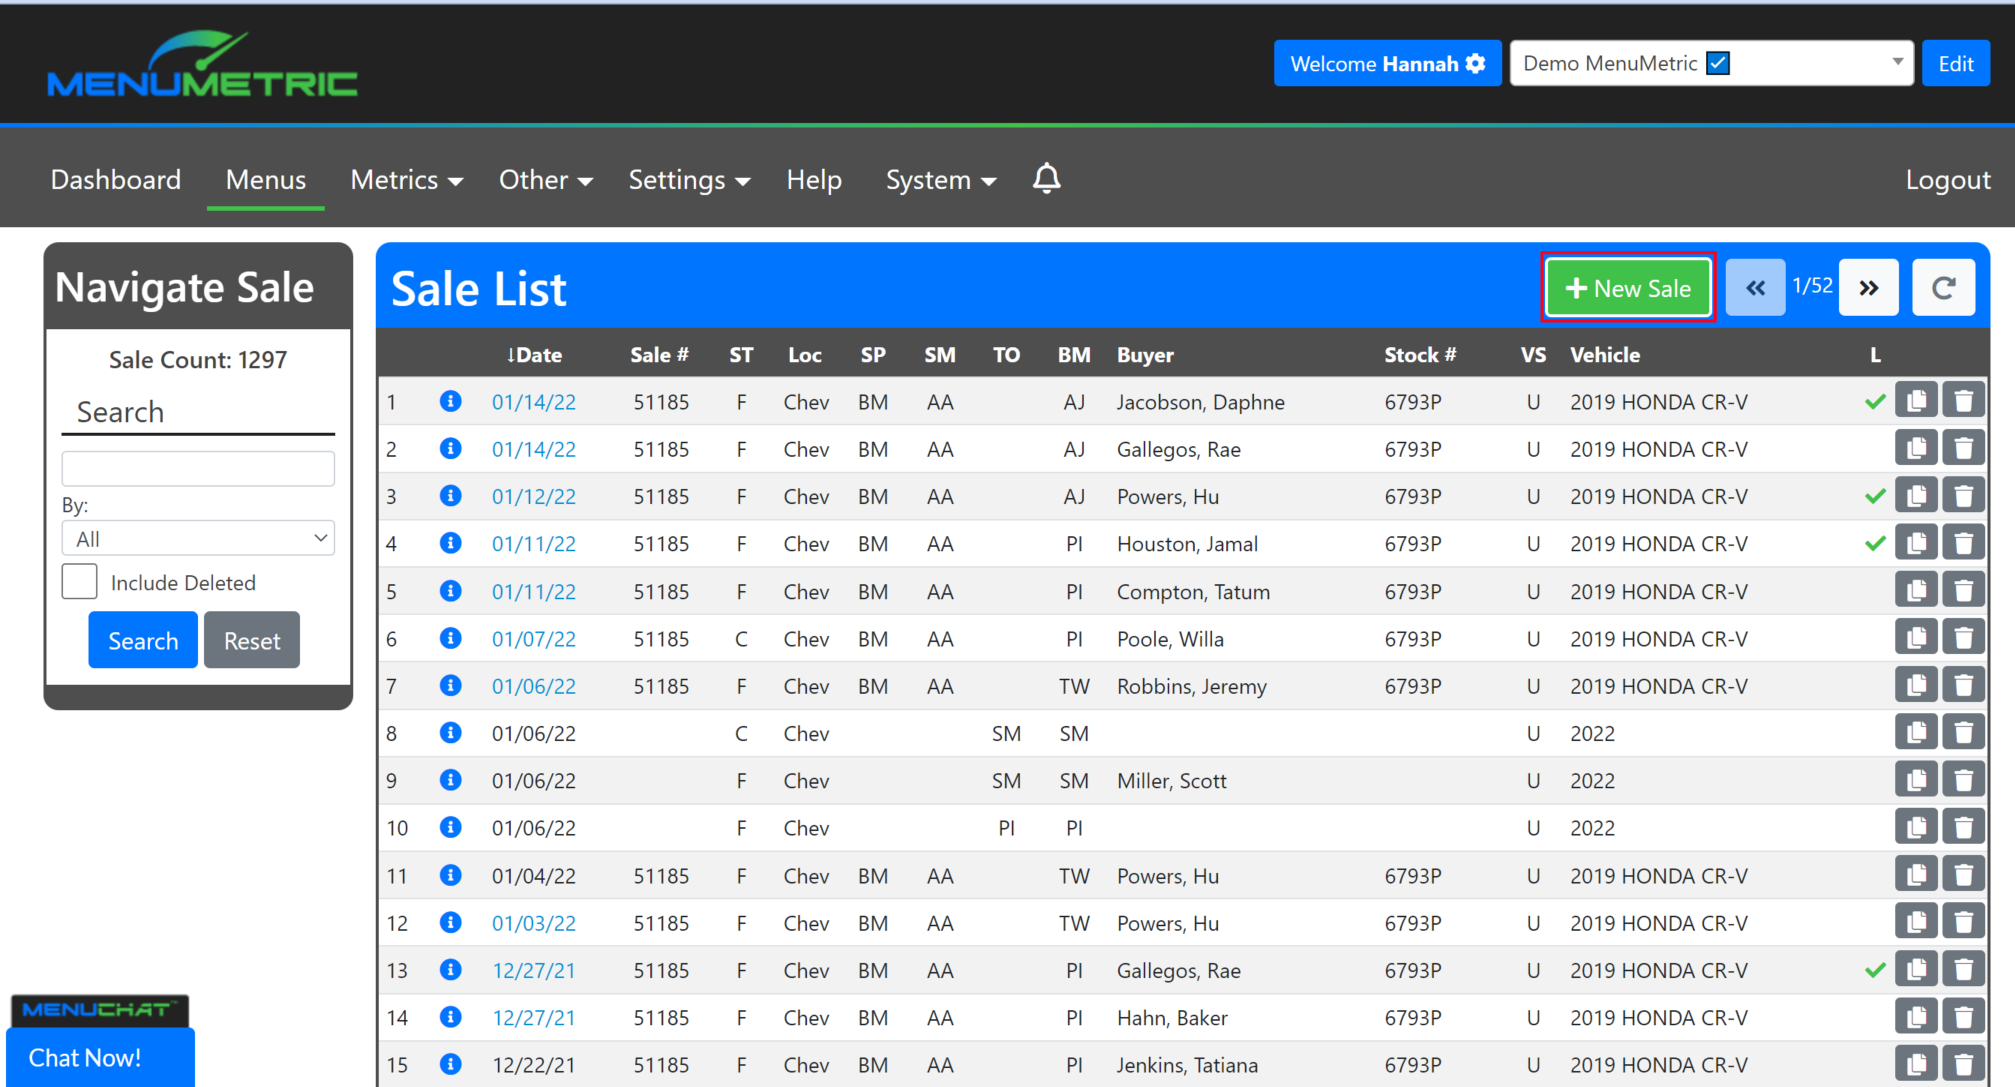
Click the + New Sale button to start a new sale.
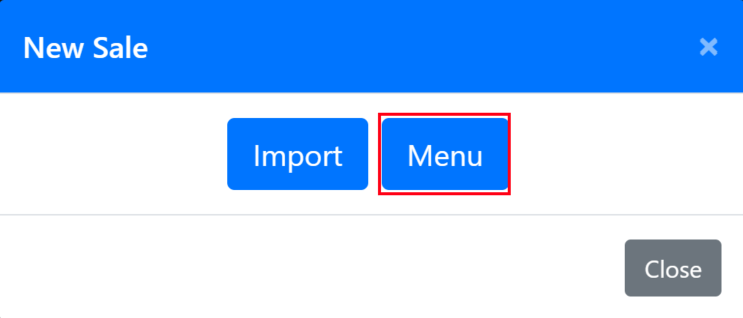
A pop-up will appear where you can either import your deal or make a manual deal. For this example, we will be making a Manual Menu. Click Menu.
Step 2. Building your deal.
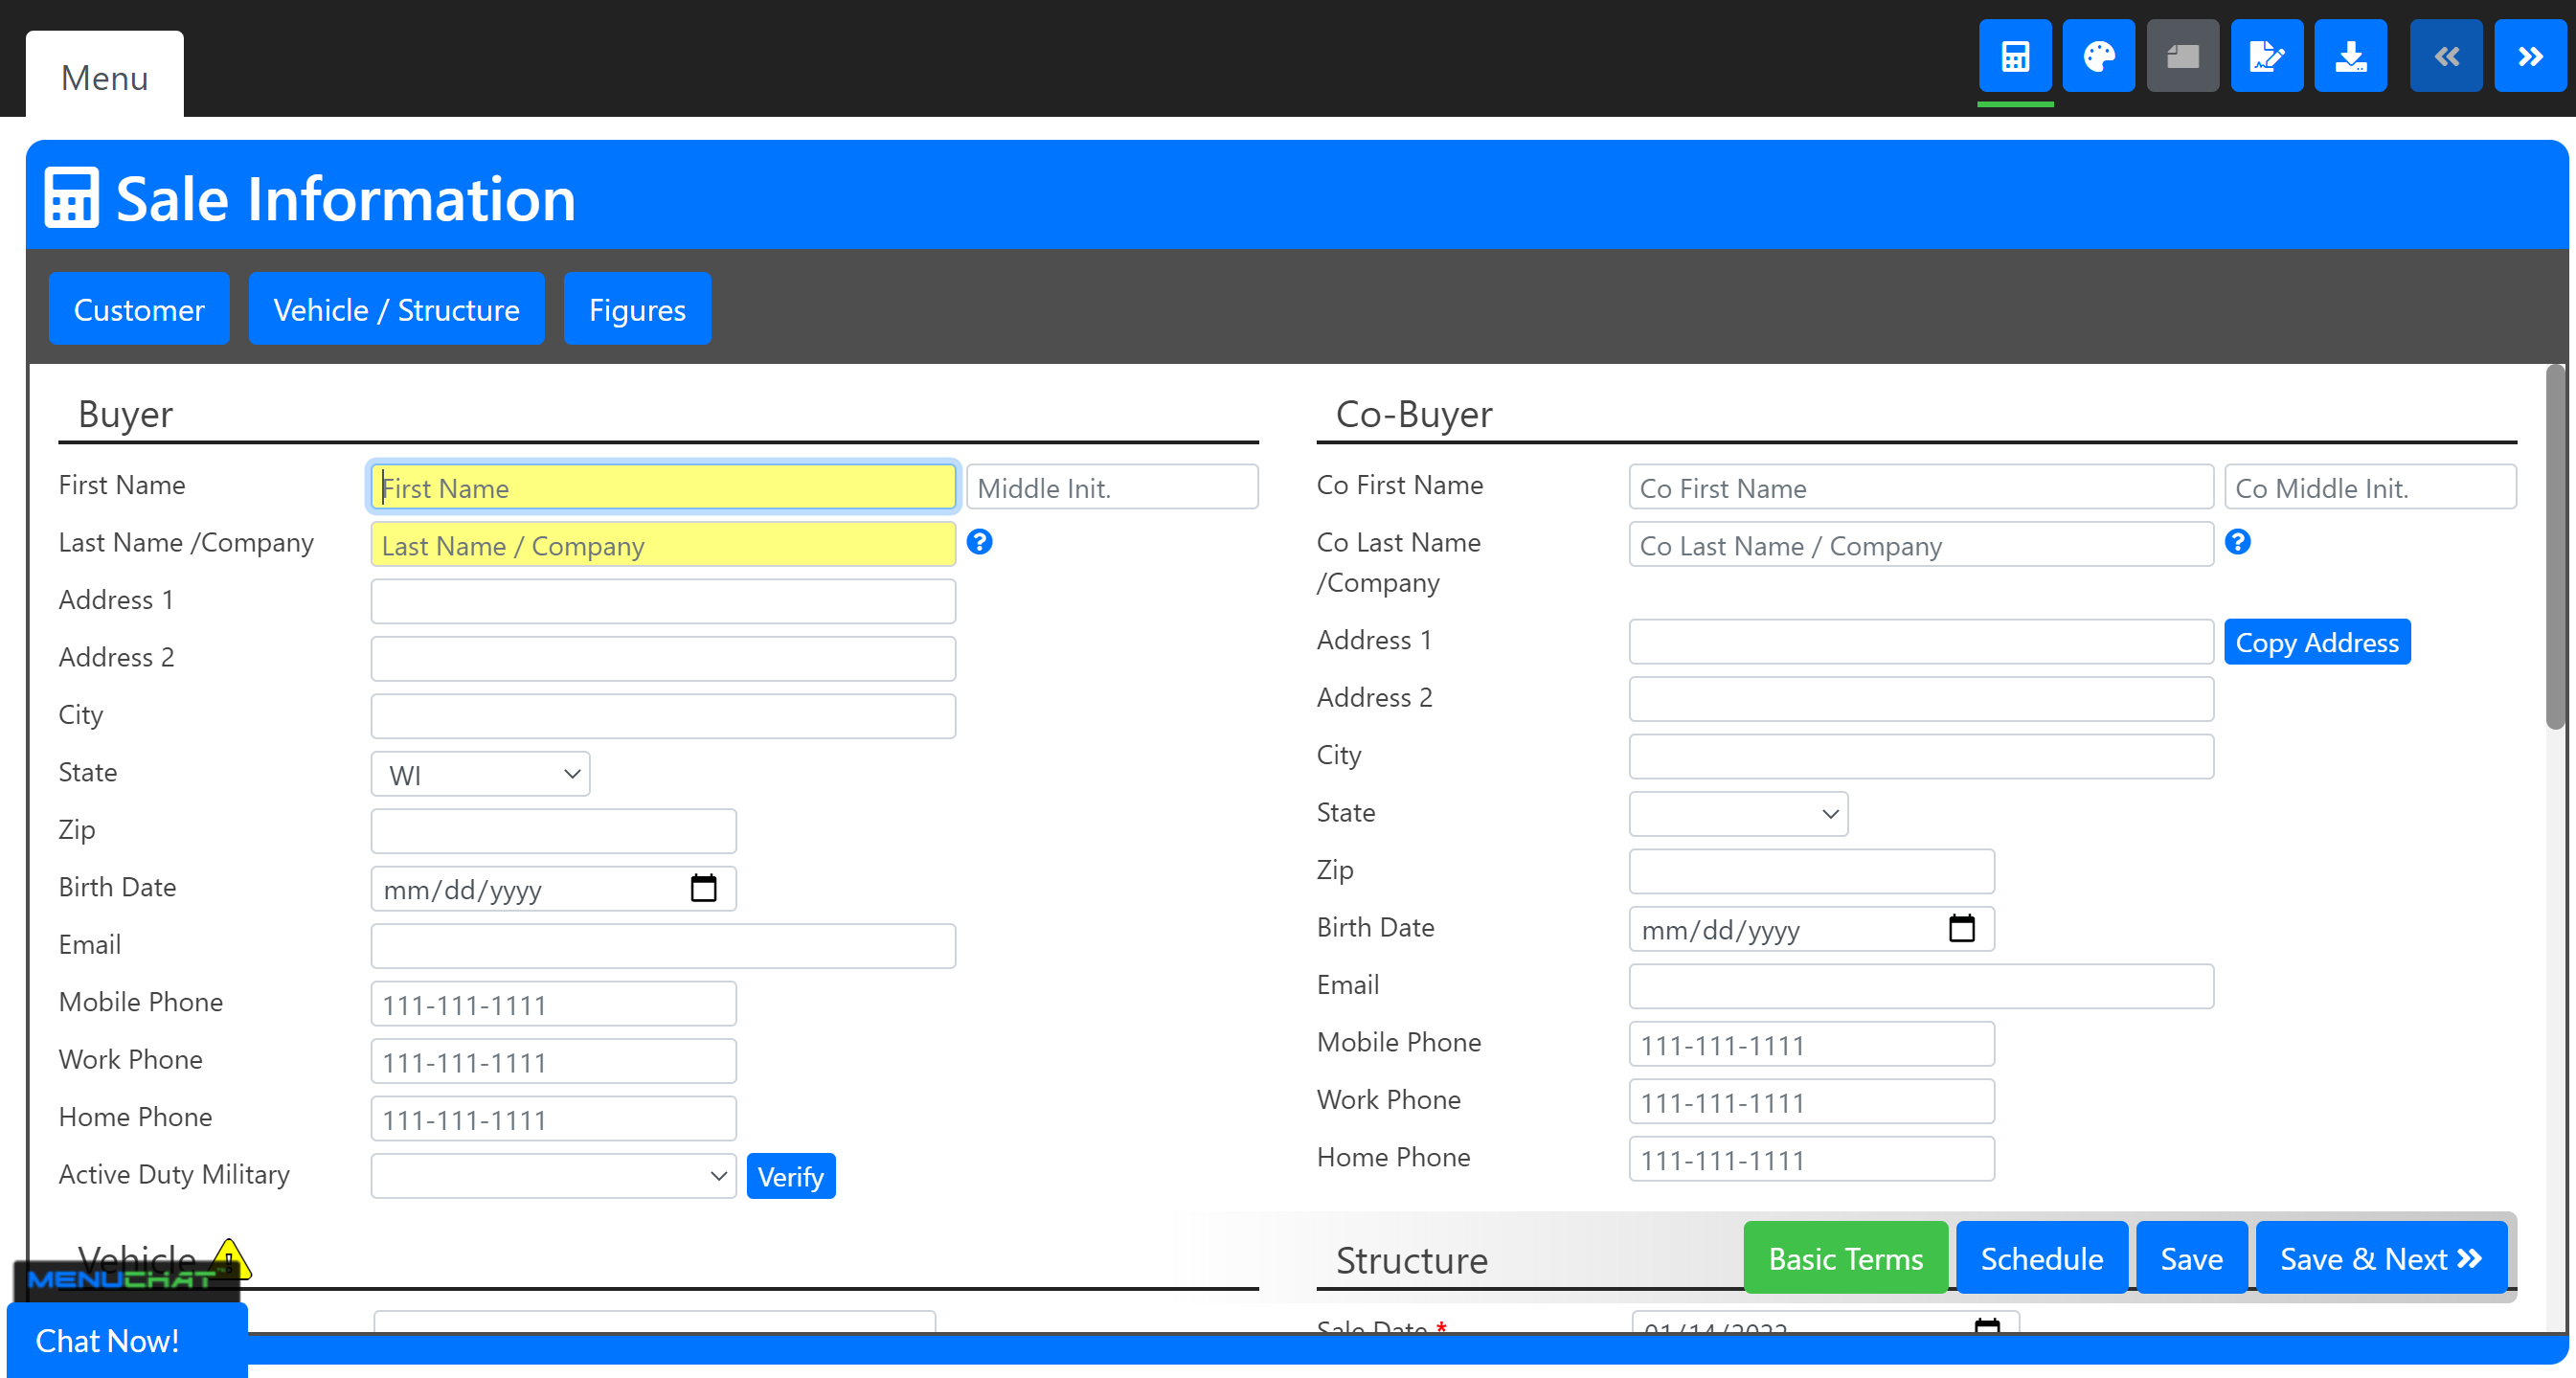
After you have clicked Menu or imported your deal you will land on the Sale Information Page. Make sure that all of the needed information is on this page. The below bullet points will point out fields that are important to a Product Only Sale.
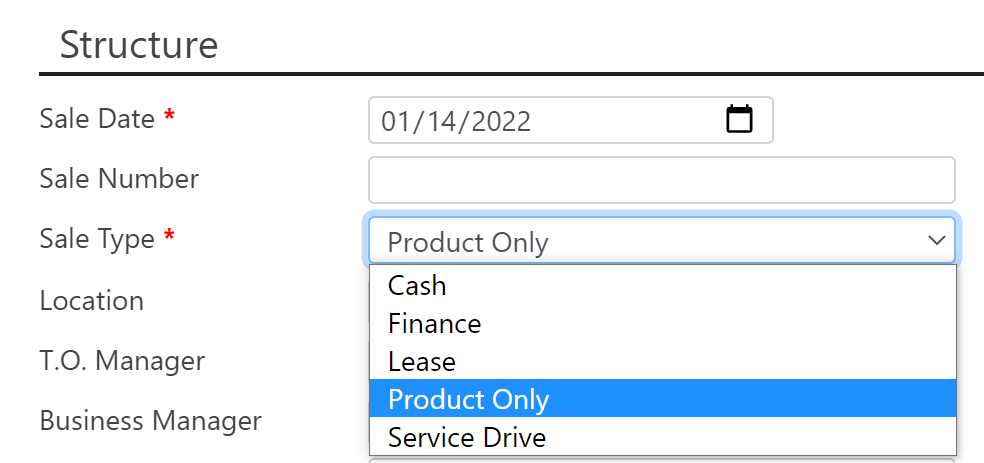
Under Structure, you will find the field "Sale Type". You can drop open this field to select the Product Only entry. By using this entry the system will know how to calculate the deal properly and include the sale in reports with the right sale status.
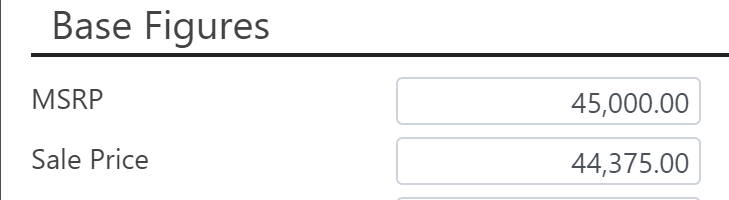
- Depending upon the requirements of your vendor you will still want to include the vehicle MSRP and Sale Price under Base Figures. Some vendors require this to retrieve the right rate coverages. This is most commonly seen in the RV industry.
TIP: To get rates for product only, you can put the MSRP in the Sale Price when you don't know the Sale Price of the unit.
Step 3. Make your Menu
Once you have filled out all of the needed information on the Sale Information Page you may select Save & Next >>. From here you may follow your usual process of steps to sale.